overview
How to Create Bitget API Keys & Connect to Dash 2 Trade
In this guide, we’ll explain how to safely and securely generate Bitget API keys and configure API permissions. You will also learn how to connect your Dash 2 Trade account to your Bitget account and start trading with our crypto bots.
The whole process takes about 3 minutes.
Step 1: Open “Trading Bots” on the Dash 2 Trade app

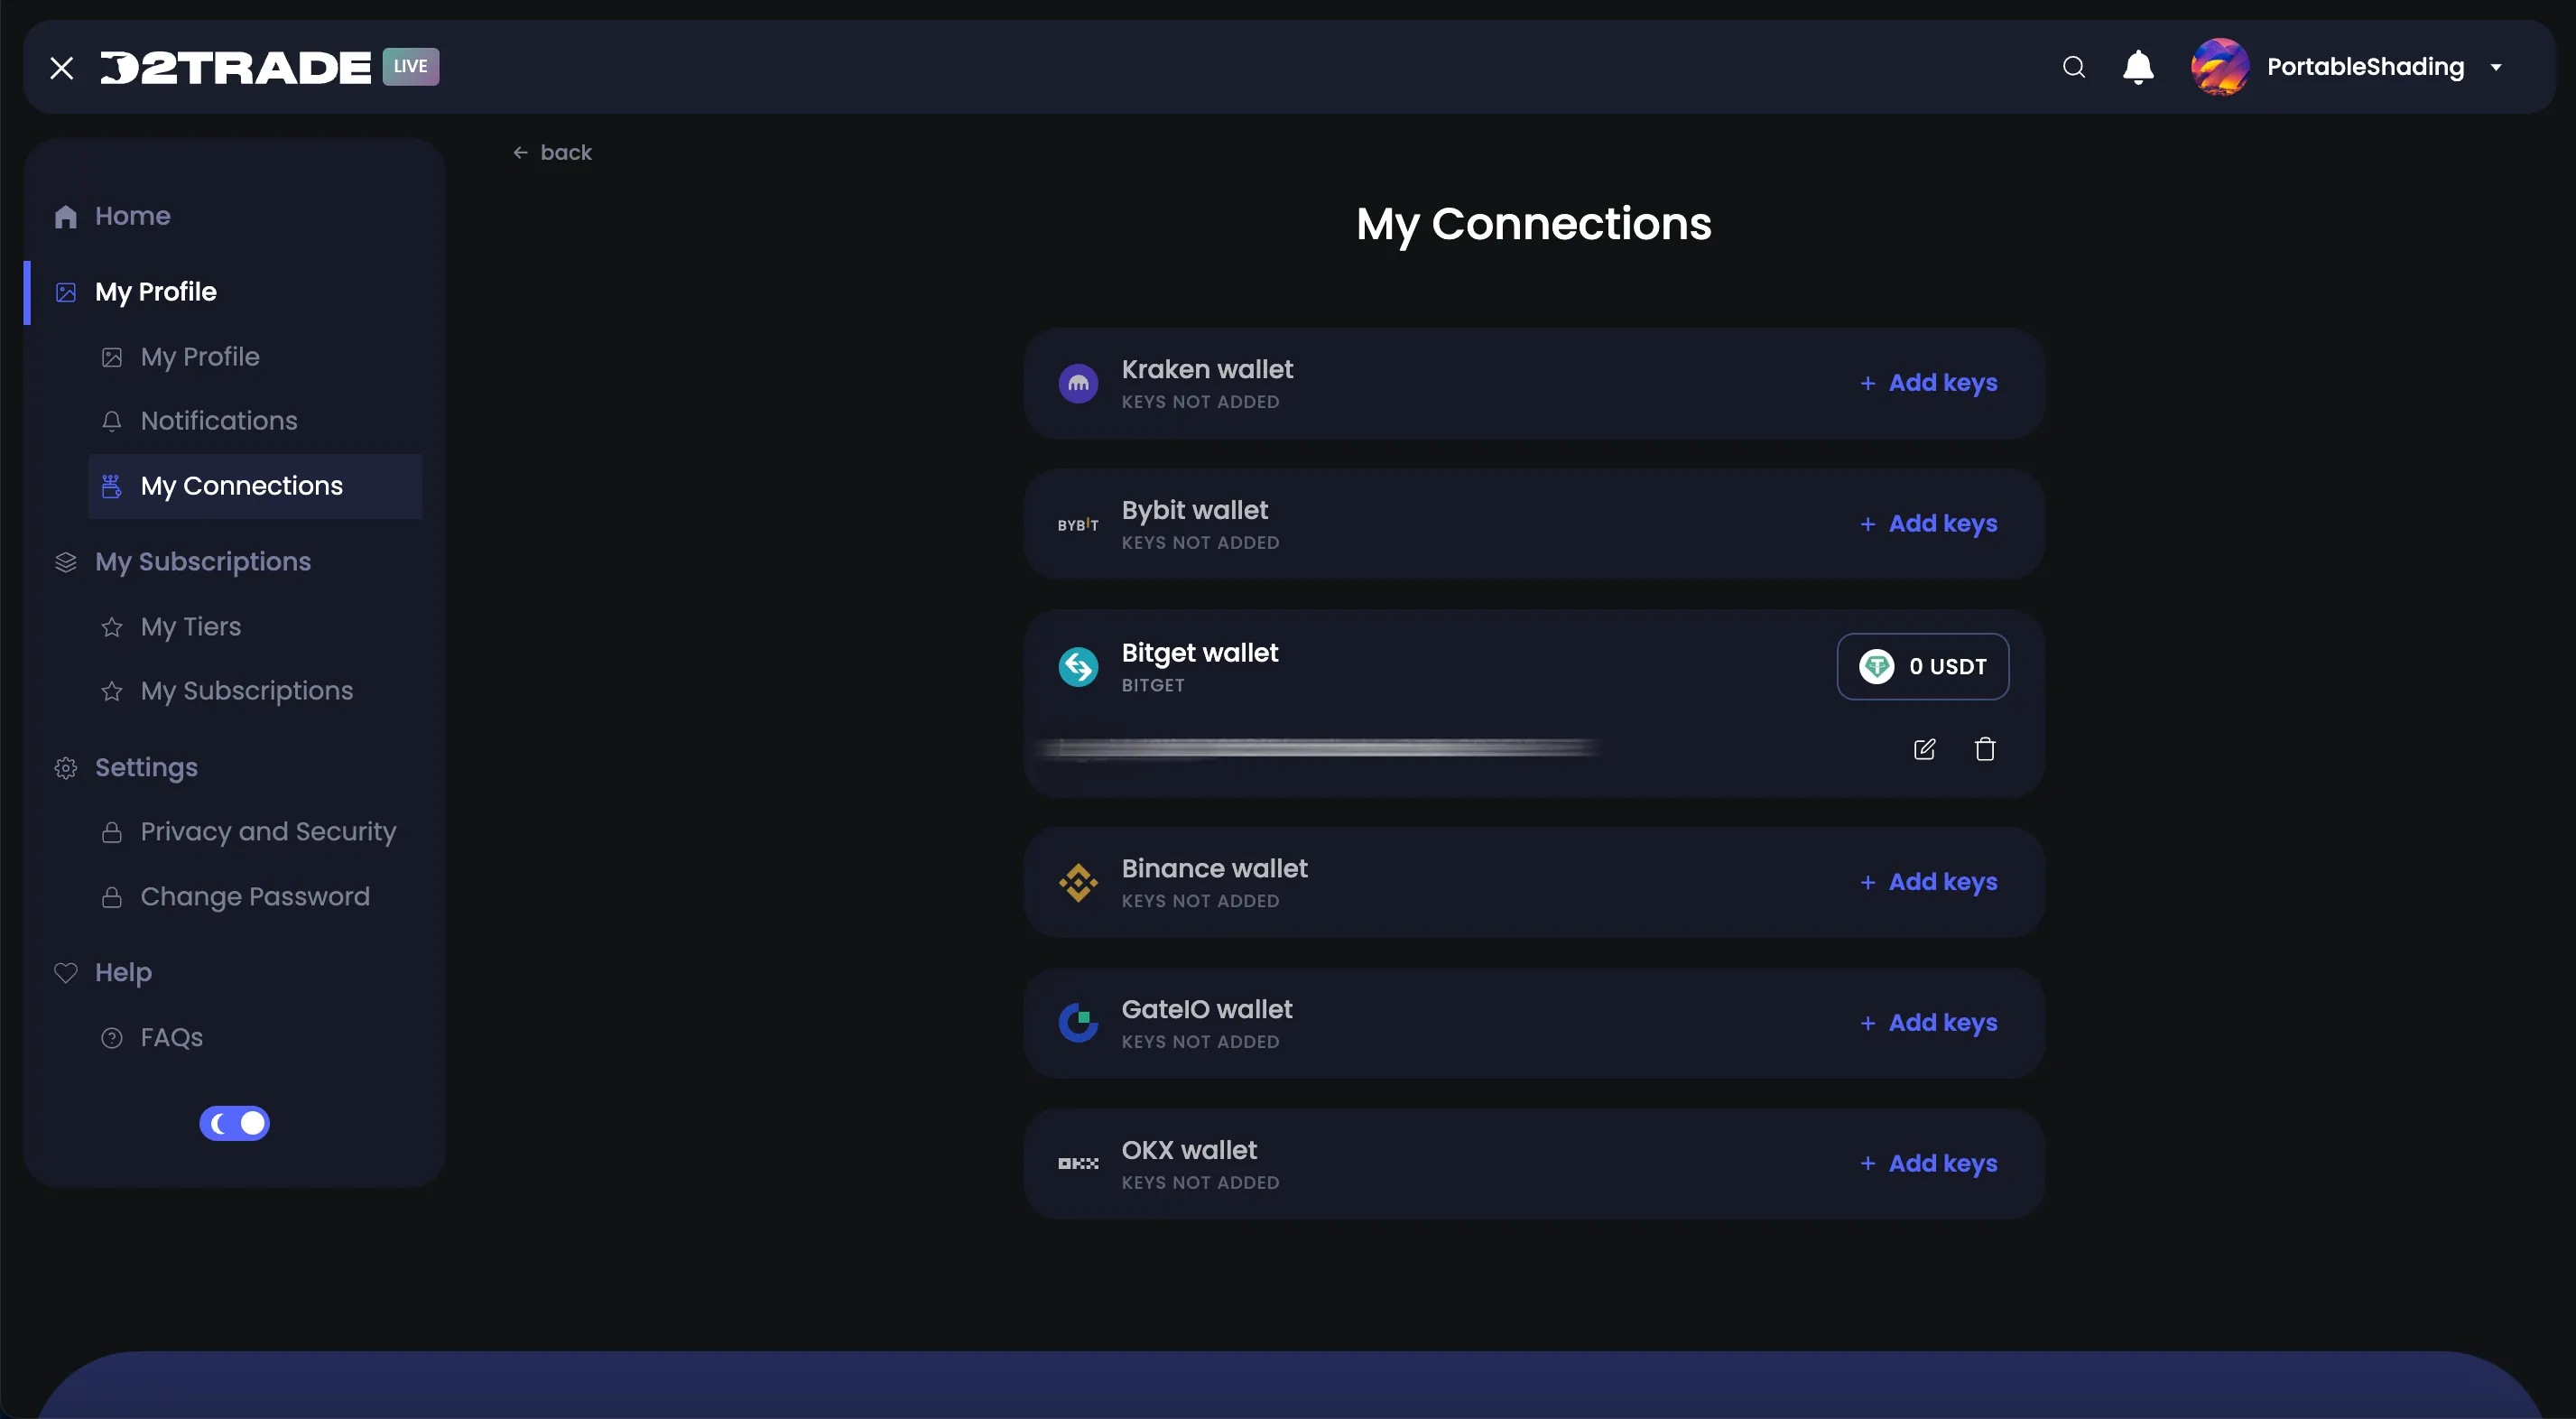
Step 2: Click “Add Connection”

Step 3: From the list of exchanges, find Bitget and click “+ Add keys”

Step 4: Copy Dash 2 Trade’s IP addresses to the clipboard

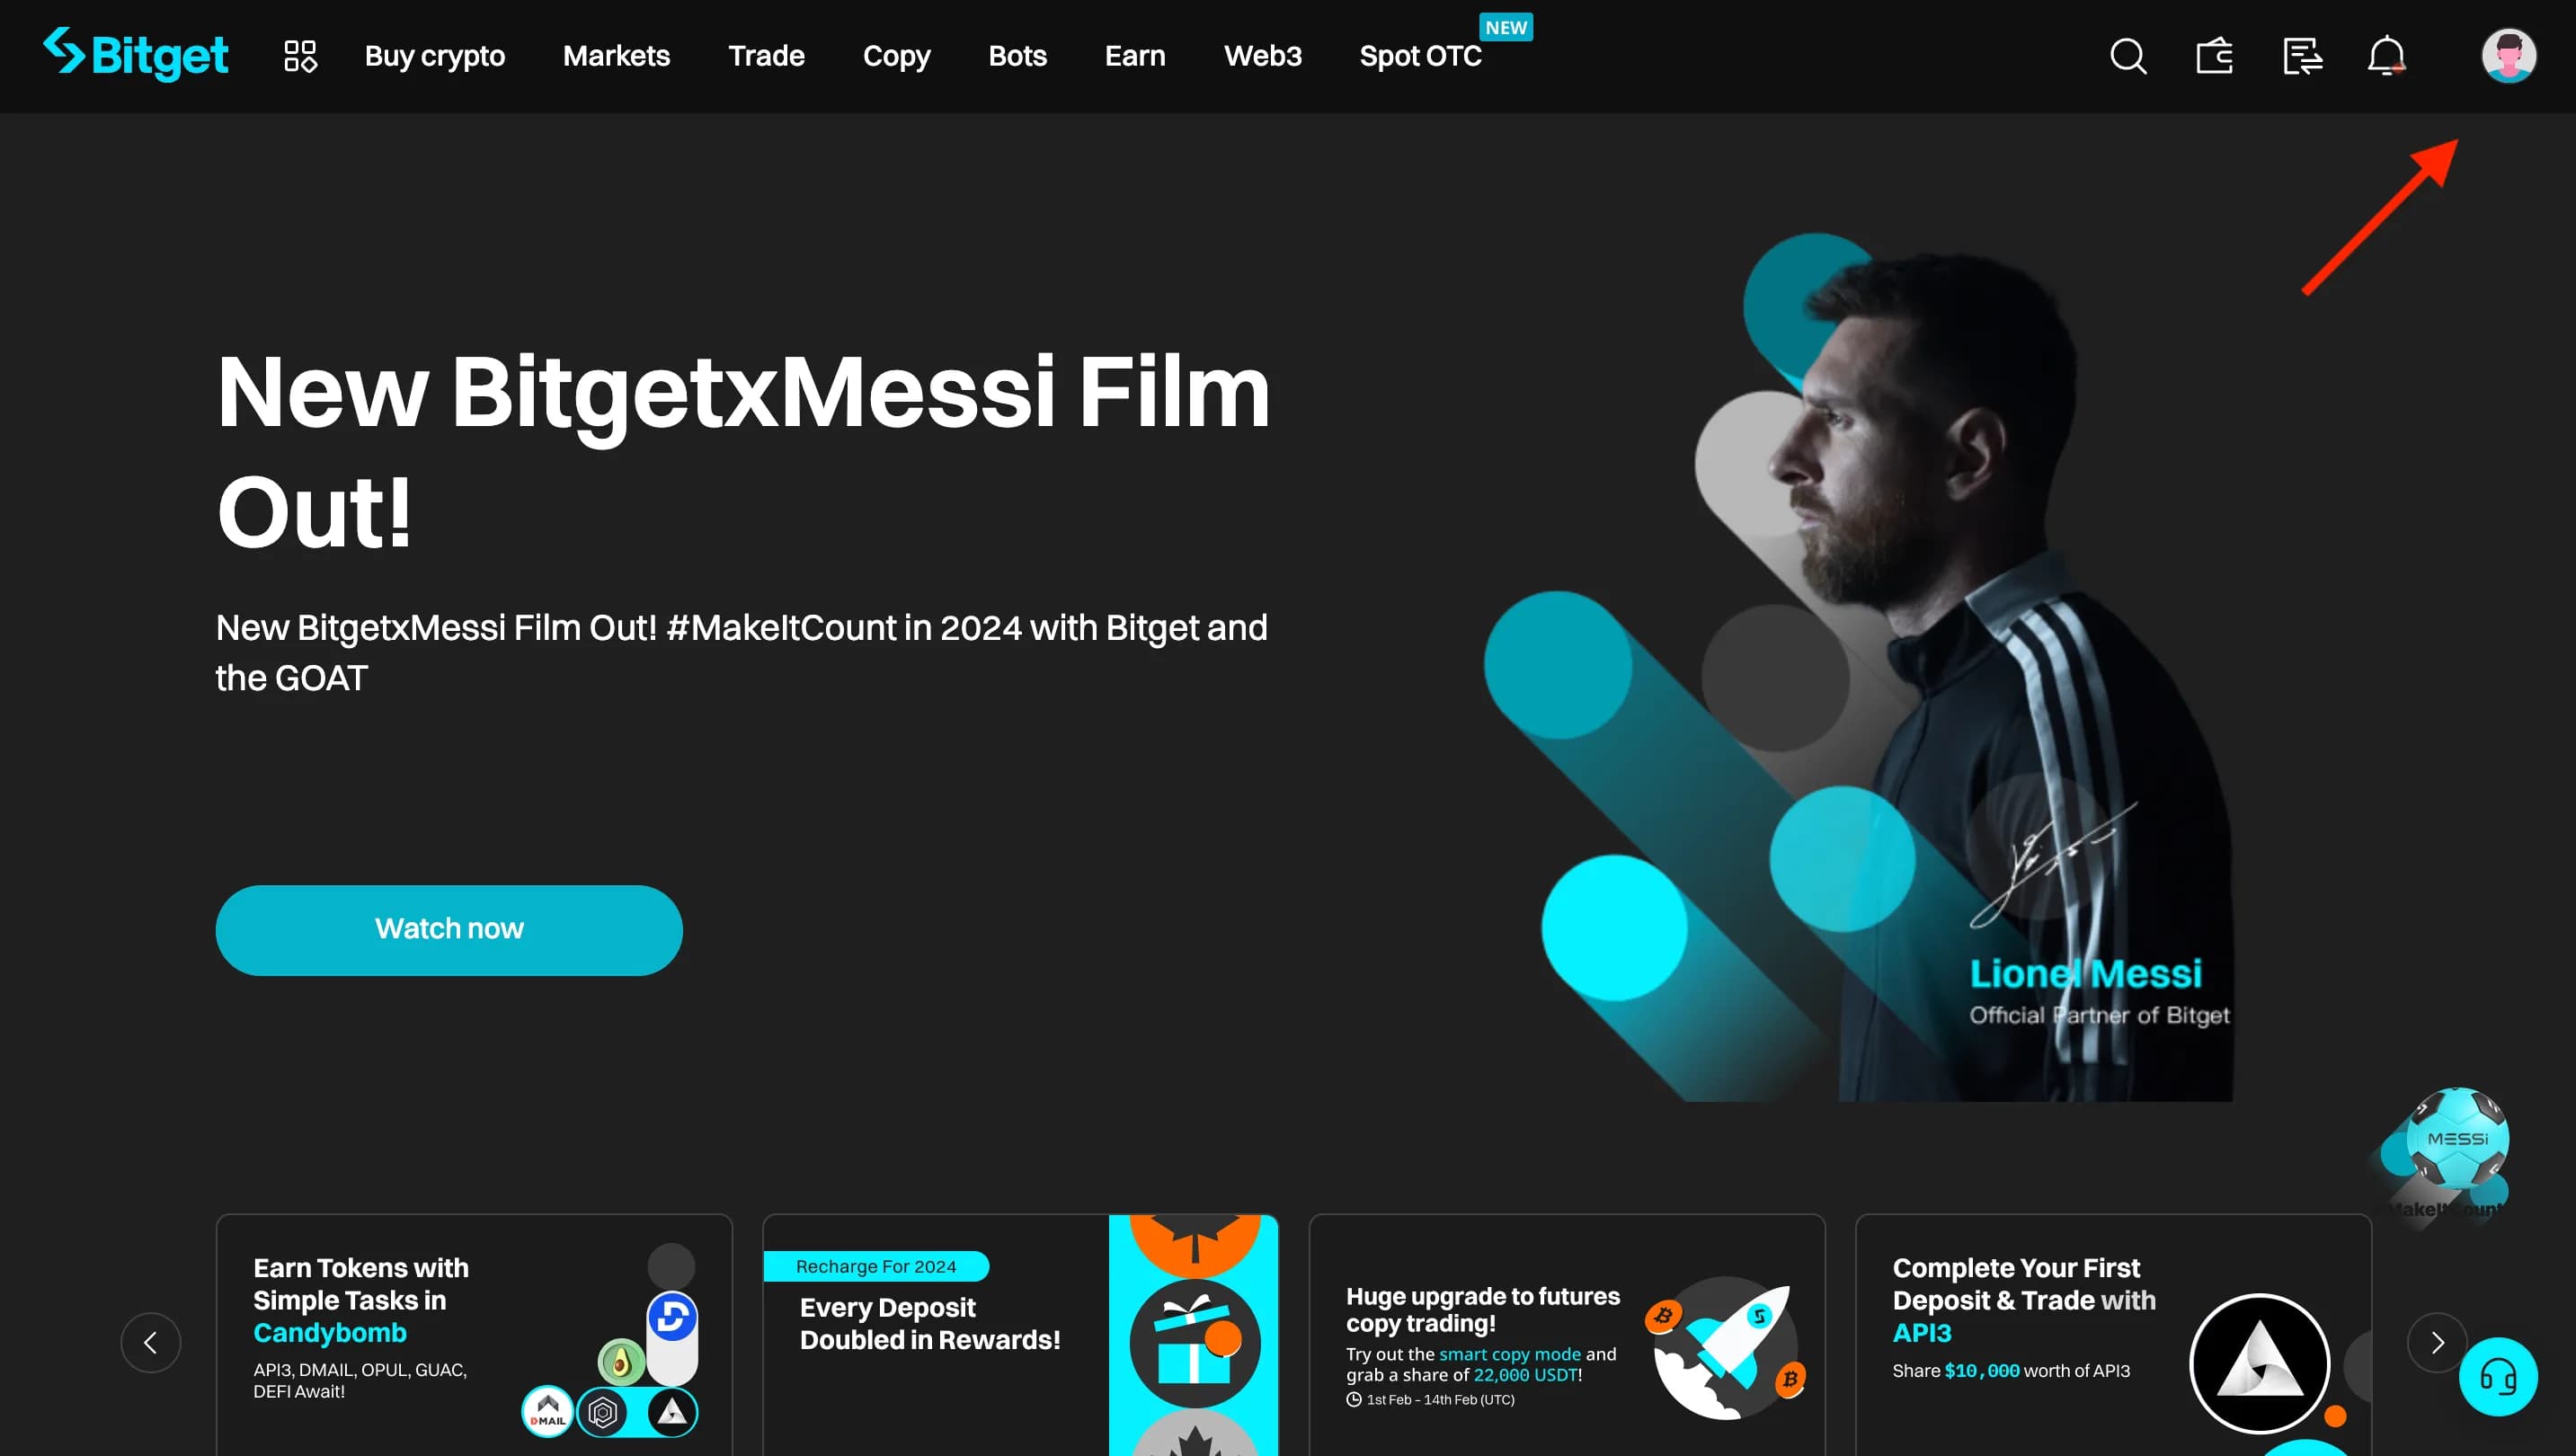
Step 5: Open Bitget and click on the profile icon

Step 6: Click “API keys” from the navigation bar on the left


Step 7: Click “+ Create API Key”

Step 8: Select “System-generated API key”

Step 9: Add a note, passphrase, & configure permissions

The note is like a name for your API keys so you can easily recognize them on the Bitget exchange. You can set it to “Dash 2 Trade” or anything else.
The passphrase is necessary to regain access to your API keys’ settings in the future. Keep it safe and don’t share it with anyone.
Permissions should be set to “Read-Write”. This is necessary for the Dash 2 Trade bot to work properly.

Finally, from the list of permissions options, next to “Spot” select only “Trade”. This is the only permission you will need to provide. It will allow Dash 2 Trade to interact with your spot trading account on Bitget.
Click “Next” when you’ve filled everything out.

Follow verification instructions successfully and you will be presented with your API keys.

Step 10: Copy the Bitget API keys to the clipboard
Copy down the keys — you may also write them down on paper for extra security — and click “Confirm” to close the window.
Step 11: On Dash 2 Trade, paste in your public key, and private key, and type in your passphrase

Finally, click on “Save Keys”
Your Bitget crypto exchange API keys will now be stored permanently in your Dash 2 Trade account until you decide to update or remove them.
For the foreseeable future, any bots you set up to trade on Bitget will require no additional API key configuration.
Note: Crypto exchange terms and conditions are subject to change. In the future, you may be required to revisit your Dash 2 Trade bot configuration and perform updates.
Congratulations!
You’ve successfully generated your Bitget API keys and connected Dash 2 Trade to your Bitget account.
Troubleshooting Problems
If you ran into any issues while setting up, here are some helpful resources:
If you’re unable to find what you need, contact a moderator from the Dash 2 Trade community Discord server.
What’s Next?
If you want to learn more about how to use the Dash 2 Trade app and all its features, please visit the Guides page.
If you’d like to learn how to become a better algorithmic crypto bot trader, explore the Dash 2 Trade Crypto Trading Academy.
Happy trading!